
Now don't stop reading! We have so much more to tell and show you!
Let me show you how we got to our finished product. In our last post about the coffee table, we left off here, so let's continue from there.
After the initial build of the table, we still had a lot of sanding to do. This past Wednesday night we took the table out to our deck and sanded it down with 120 grit sand paper. Yes, it was a joint effort to sand down this thing. We tried to sand down the top boards as much as we could to make them all look like they were around the same color. Here's a quick snapshot of the table after we sanded it down:

Gotta love iPad pics. I don't have a picture of it, but after sanding the table, I wiped it down with a damp cloth just to get off any loose wood debri (is that even a thing? Who knows, but that's what I'm calling it). Then we took our stain of choice and tried it out on a spare piece of sanded wood. Note to self: 1.) sand the spare piece of wood with the same sandpaper grit that we sanded the table with in order to get a true depiction of what the stain will look like and 2.) stir the stain with a paint stick before applying it (otherwise the coloring sits at the bottom of the can). Here's Eric testing out the stain:


The above picture is a false depiction of what the stain actually looks like. Eric forgot to stir the can of stain before applying it. Can you tell it's our first time ever staining? We're amateurs, people!
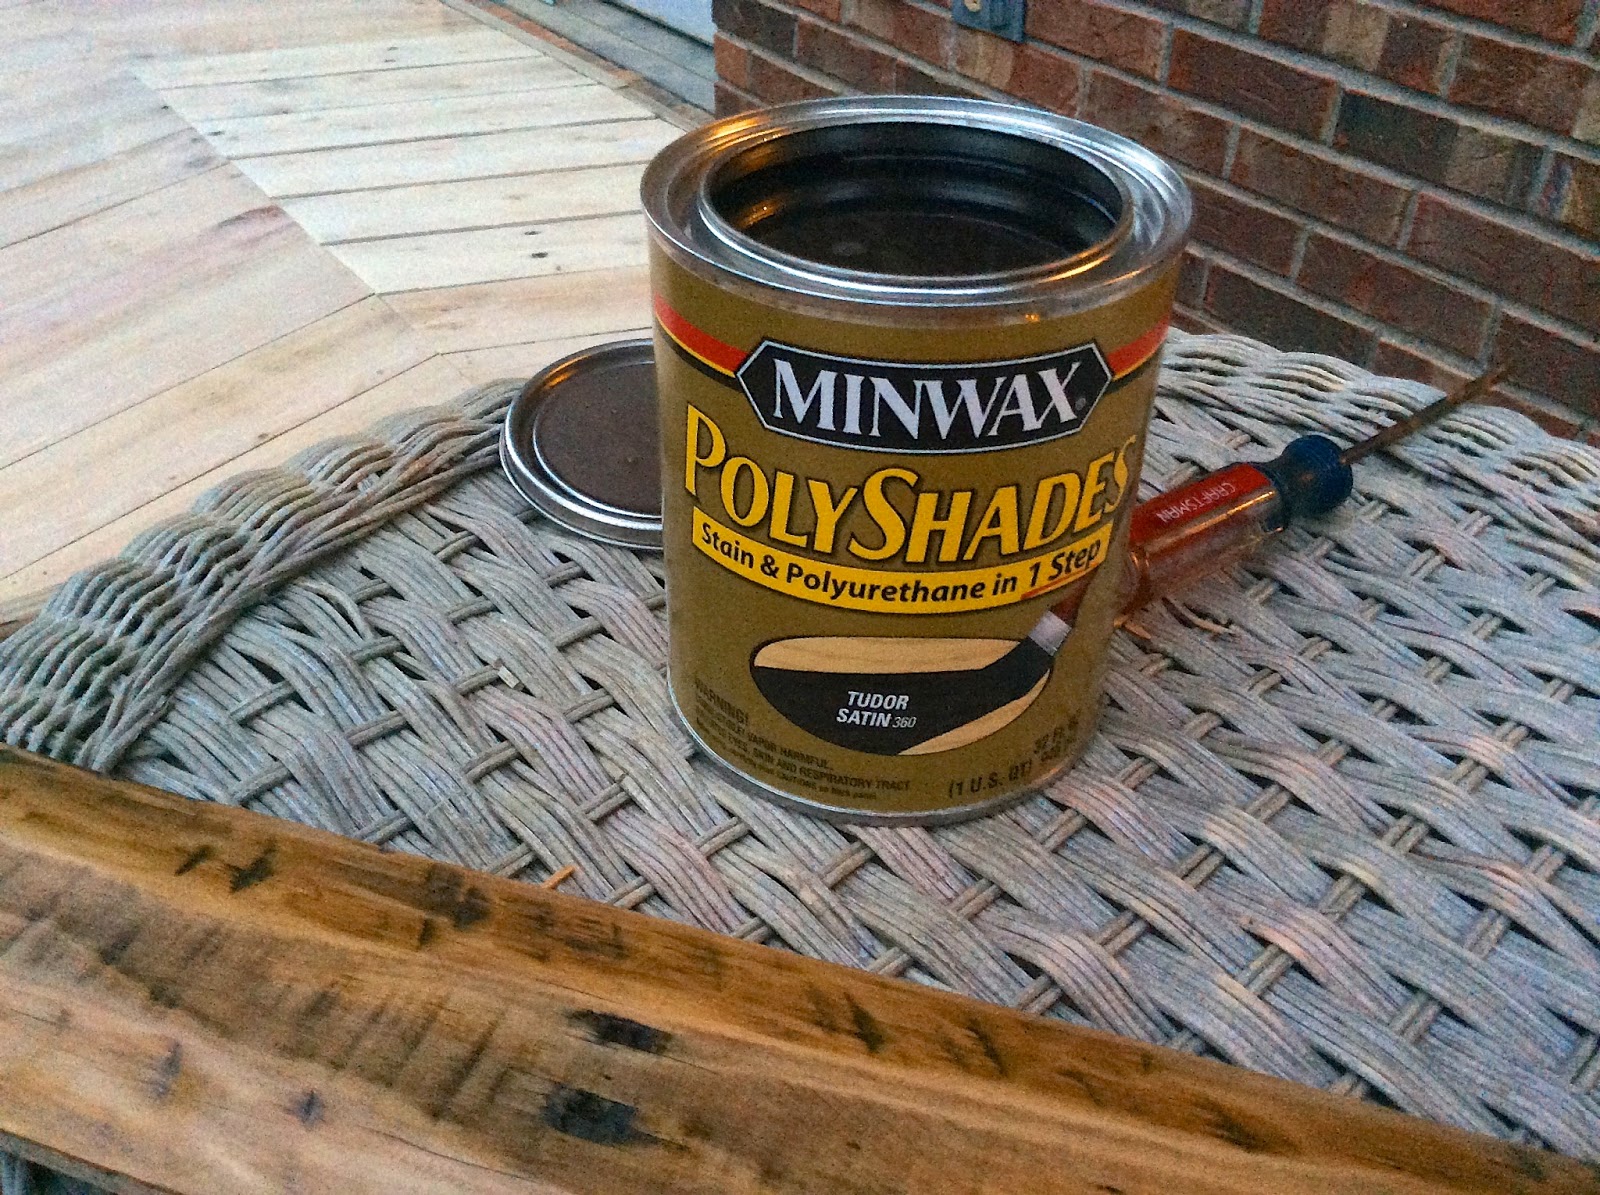
Our stain of choice was this one. We thought it'd be easiest to use an all-in-one stain that already had polyurethane mixed into it. Truth is, if we had it to do over again, we'd buy just a stain and then buy polyurethane to put on top. Oh well. The color we chose was "Tudor" in a satin finish.
Thursday night we got busy putting the first coat of stain on the table.


Here are 5 quick tips for staining:
1. Apply the stain starting in the middle of each board and brush back and forth to cover all surfaces.
2. Work with the grain of the wood.
3. Make sure to wipe off any excess stain that gets in between cracks or on the edge of the table (if it dries before wiping it, you will likely have something that looks like a runny mess).
4. Stain in this order: top, sides, legs.
5. Make sure you are staining in a well-ventilated area.
We originally thought that we'd only have to apply one coat of stain. This picture had us all, "Wow, for only putting one coat of stain on, the table looks great!"

The table was still wet when I snapped this picture. After it dried, we were left with this:


Obviously we had already started the second coat, but I love that you can see the difference between the first and second coat. We were not the slightest bit pleased with how the table looked after one coat. The boards looked like they had a gray coating over them. Not what we were going for at all! We wanted the table to have a dark rich color. I spent a good chunk of my day yesterday finishing the second coat and applying stain to the legs.
Something I want to point out is that certain boards needed a third coat of stain. In our original reveal picture of our table, it was pretty noticeable (at least to us) that 6 of the top boards weren't the same color as the rest.

Note to future self: when building something like a table out of pallet boards, make sure to use boards that are all close in color after sanding. Otherwise you end up with this problem.
After the first coat of stain, you could still tell where these six boards were. They didn't quite blend in with the rest of the boards.

After a second coat they looked a little better, but a third coat on just those six boards really did the trick. Hallelujah! Coating the legs of the table was a similar process. They too were a lighter color to start. Here's how they looked after the first coat of stain:

And so on went another coat, which is how we ended up with our finished product. (Another side note: we decided that if we ever build another coffee table like this that we will change the style of the legs. For our next coffee table build, we plan to take two pallet boards and assemble them into the corners of the table on the outsides).


Bet ya can't tell where those six "oddball" boards are in the photo above. They are oddballin' (yup, just made that word up, so what?!) no longer!

We are beyond excited to replace our old wonky outdated table with this sturdy beast. I've already tried out some decorating options for the top!

Let's play a game. The game is called, "What's the Cost?" How many of you (just by looking at our table and not knowing the whole process that went into making it) would say that our table cost us somewhere between $50-$100+ to make? Do I see a few hands raised? I know that when I looked into buying a new coffee table online, the price for a nice one was always way over a hundred bucks plus shipping. Well guess how much this DIY pallet coffee table cost us. A grand total of $13 ($12.87 to be exact, but we'll round it to $13)!!!! Can you believe it?! For those of you thinking, "Man, maybe I should DIY my own coffee table..." We say, "Yes! It's a total win win!" We will say, that in order to build this table for $13, you kind of have to have some tools or know somebody that would be kind enough to let you borrow their tools. Here's a rundown of the materials we used to build this marvelous table:

Materials Needed for This Project:
(Note to those of you wanting to build this table: The cost is likely going to change for you if you don't already have a lot of these materials. We already had (or borrowed) all of our materials on hand, which made it nice. The only thing we had to buy was the stain).
-Pallet Boards (you can typically find them on Craigslist or from people you know for FREE!) (We used boards from a total of probably two full pallets)
-Hammer & Pry bar (to free boards from the pallets)
-Sander (we have this one)
-Sandpaper (we used 80 grit sandpaper to initially sand down each board, then we used 120 grit sandpaper to sand down the table after it was built)
-2 1/2 inch outdoor wood screws (these are used for the base of the table and the legs) (See how we constructed the base here)
-Miter saw (set to a 20 degree angle to make the herringbone pattern)
-Nail gun and nails (18 gauge 1 1/4 inches)
-Circular saw (we borrowed our neighbors) (Read more about what we used this saw for here)
-Wet wash cloth (to wipe down table after final sanding/before staining)
-Your choice of stain (we chose Polyshades Stain & Polyurethane in one--Color: Tudor--Finish: Satin)
-Staining brush
And that's it!
Now to sit back and enjoy our handiwork. Let us know what you think of our table in the comment section below! If you decide to build one for yourself, share some pictures with us or send us the link. :)
This is amazing! So beautiful! I love the wood stain so much, gorgeous!
ReplyDeleteThanks Emily! We are obsessed with the stain color as well! :)
DeleteLoving the table! You guys did an awesome job!
ReplyDeleteI love how it turned out! (I also noticed the YHL book on the table - they are such an inspiration!) :)
ReplyDelete